Build the page one section at a time. Start with your opening message and useful catalog links, then add the stories and supporting content your store needs. You can hide or remove any starter section.
01. Introduce your store#
Open in the editor Home page → Editorial spotlight
Give visitors one clear reason to explore your collection.
- Select the first Editorial spotlight in the Home page template. Write a short Heading and, if useful, an Accent heading.
- Choose Image and Mobile image. Use a photo with enough clear space for your text; the illustration below appears until you connect media.
- Set a useful Button label and Button link, such as your main collection. Adjust the overlay and text colors against your chosen photo.
See the Editorial spotlight controls
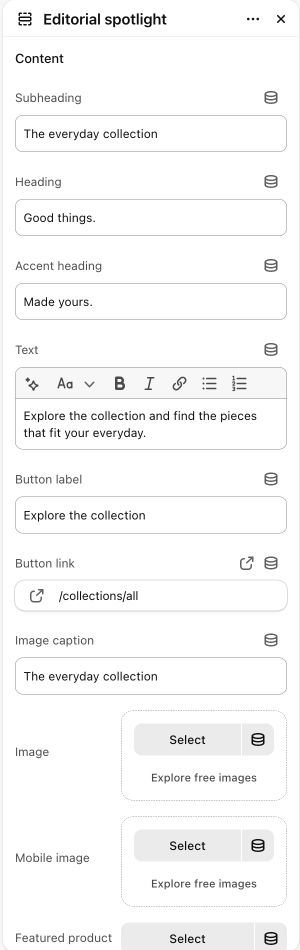
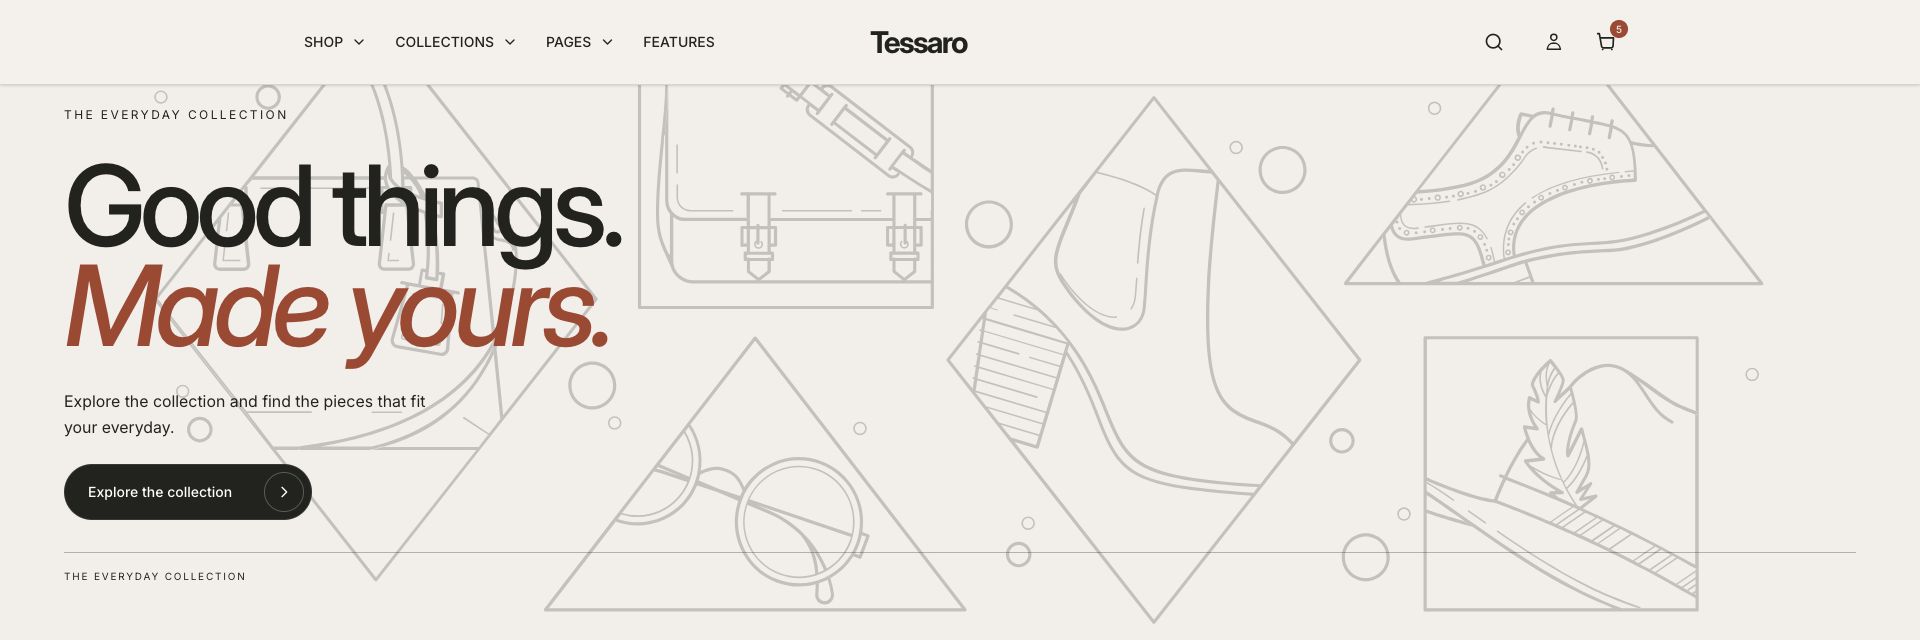
What to look for The heading is readable on the actual image, and the button leads to the intended collection.
Explore all Editorial spotlight settings →
02. Give shoppers a way in#
Open in the editor Home page → Category cards grid
Help people choose a category before they browse individual products.
- Open Category cards grid and select each Category block.
- Use Link to choose the intended collection or page. Set Image, Heading and Subheading for the card.
- Keep the most useful categories first. Remove extra blocks rather than leaving unrelated examples visible.
See the Category cards grid controls
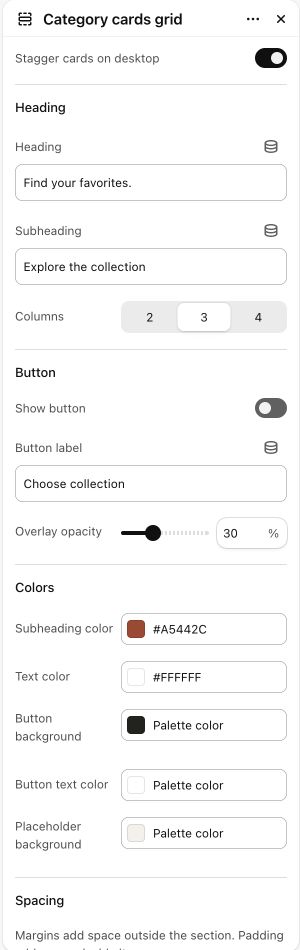
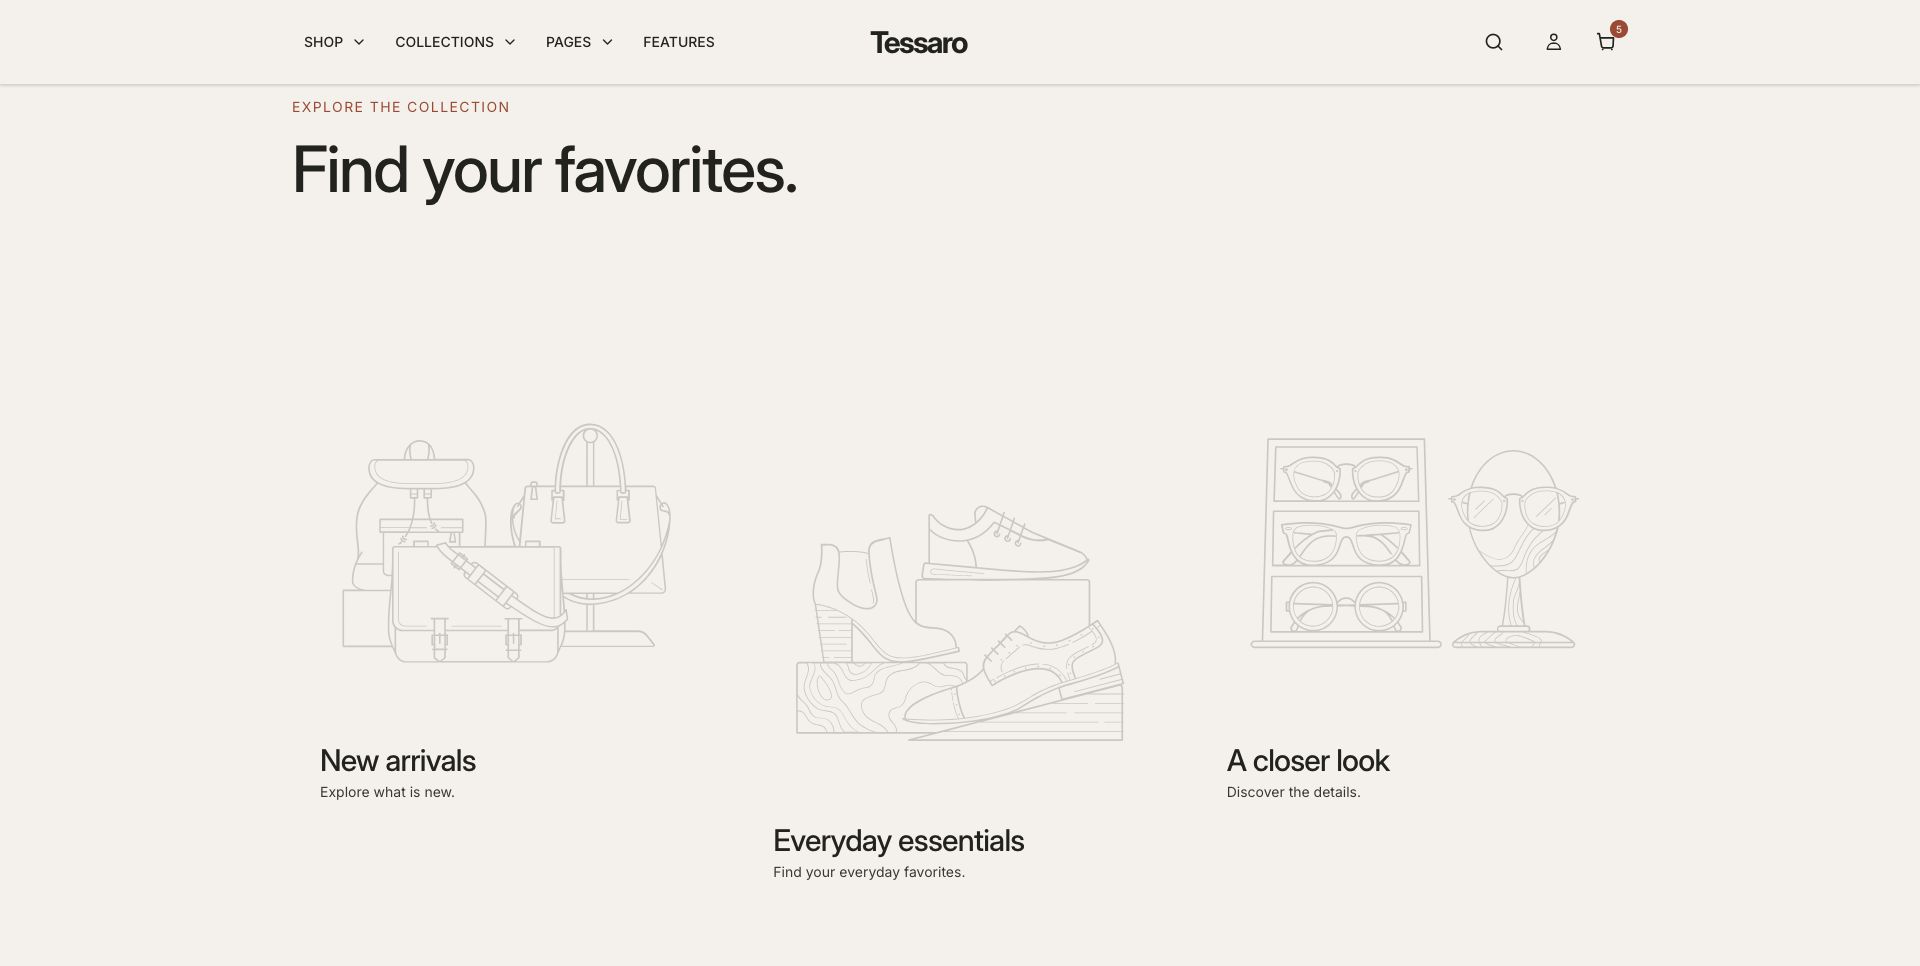
What to look for Every card has a meaningful image, a clear label and a working destination.
Explore all Category cards grid settings →
03. Show your first product selection#
Open in the editor Home page → Featured products
Put a focused collection within easy reach.
- Open Featured products and choose the collection you want customers to browse.
- Set the heading and product count. Start with a small, coherent selection so visitors can understand the offer.
- Preview the cards with your real product images and titles. Check the carousel on a phone as well as desktop.
See the Featured products controls
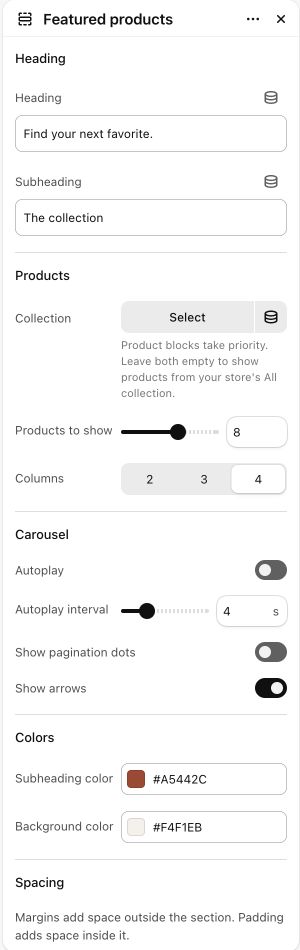
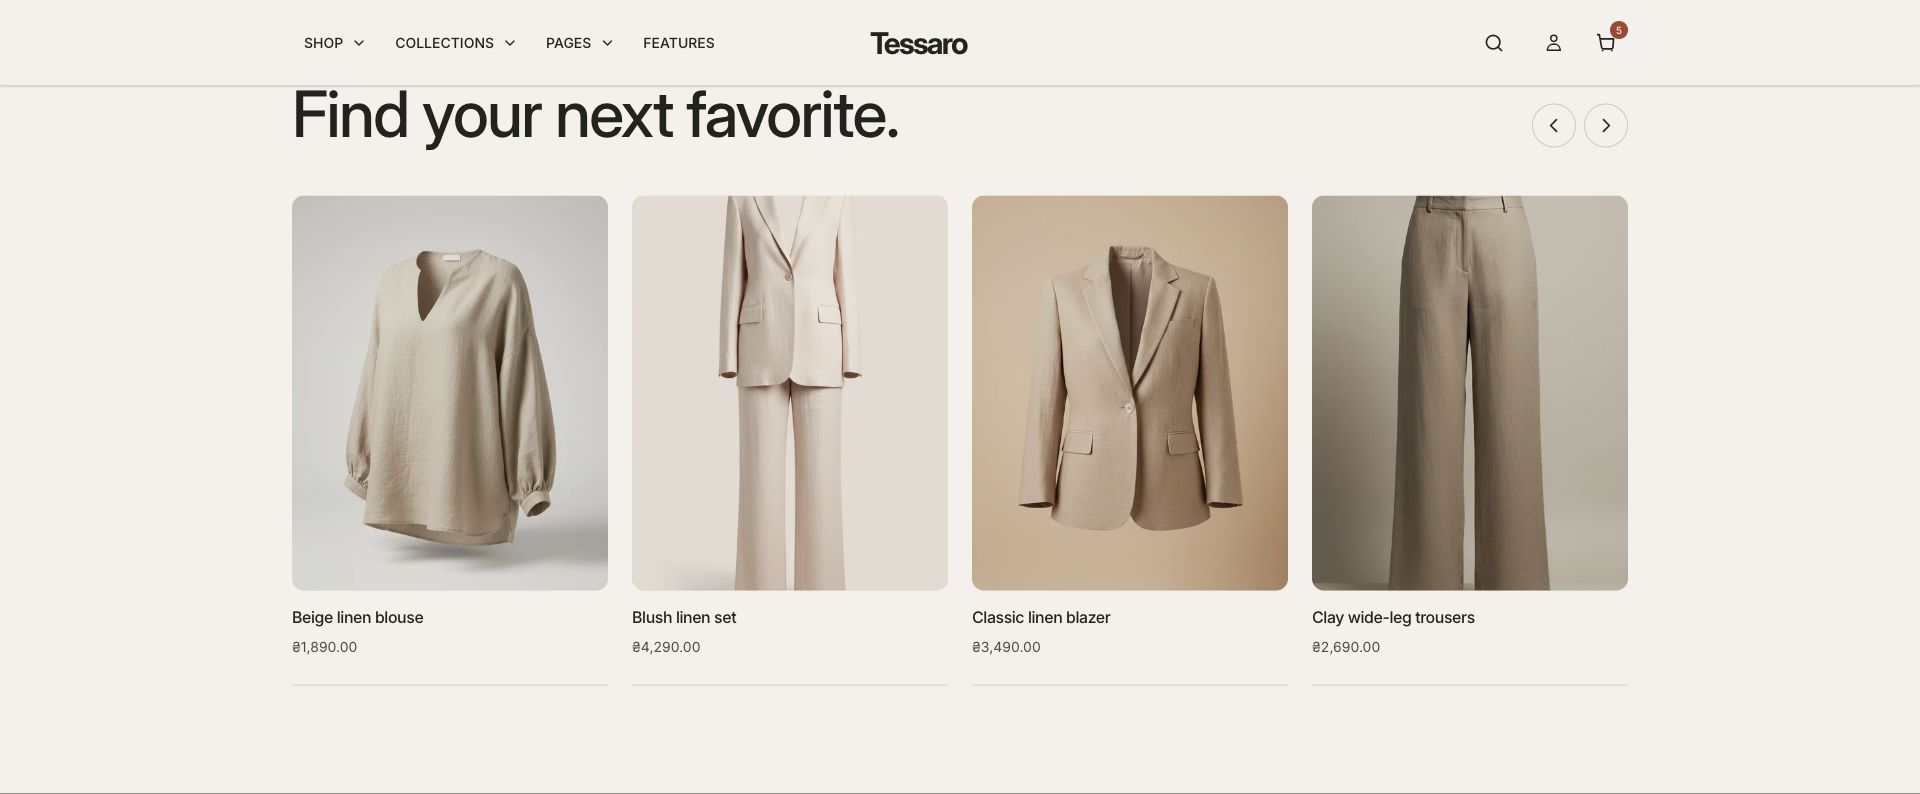
What to look for The cards show the right products, prices and availability. The example uses products already in the store; a theme ZIP does not import them.
Explore all Featured products settings →
04. Tell a short brand story#
Open in the editor Home page → Editorial spotlight
Use the next editorial section to explain a detail that makes your products worth considering.
- Select the next Editorial spotlight, after the product selection. This is a separate instance of the same section.
- Choose a supporting image and keep the heading and paragraph focused on one idea.
- Link to a collection or a genuine story page. Use colors that distinguish the section while keeping the text easy to read.
See the Editorial spotlight controls
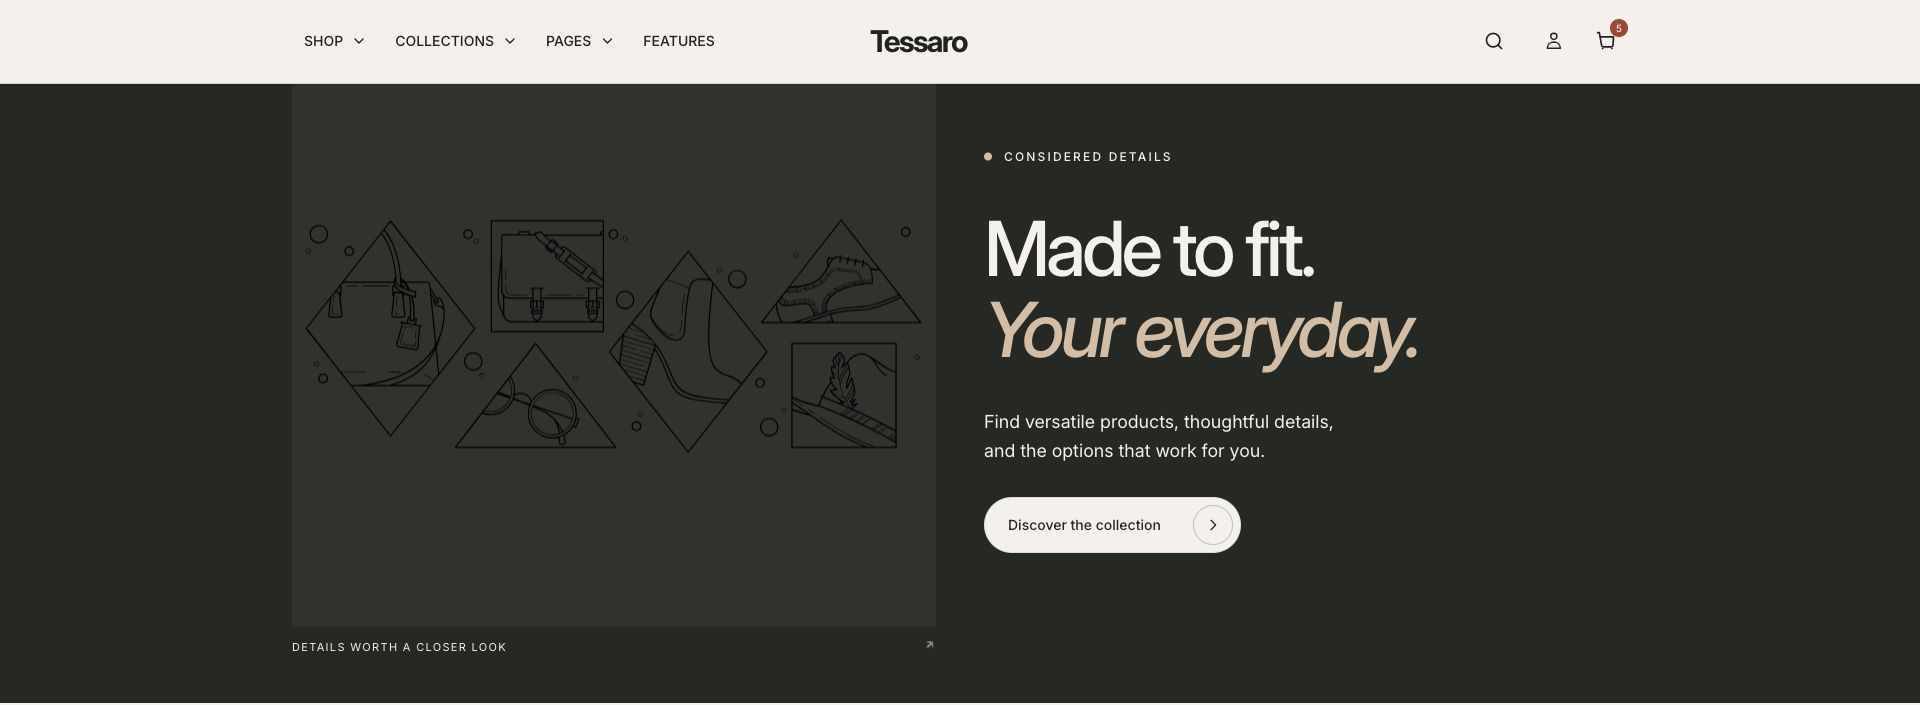
What to look for This section adds useful information instead of repeating the opening banner.
Explore all Editorial spotlight settings →
05. Build a curated product edit#
Open in the editor Home page → Editorial product edit
Pair an editorial image with a small group of related products.
- Open Editorial product edit and choose the main image and its accompanying text.
- Connect your featured products using the product controls provided by the section.
- Check that the image and products belong to the same story. Replace the illustration and any automatic starter selections with your own edit.
See the Editorial product edit controls
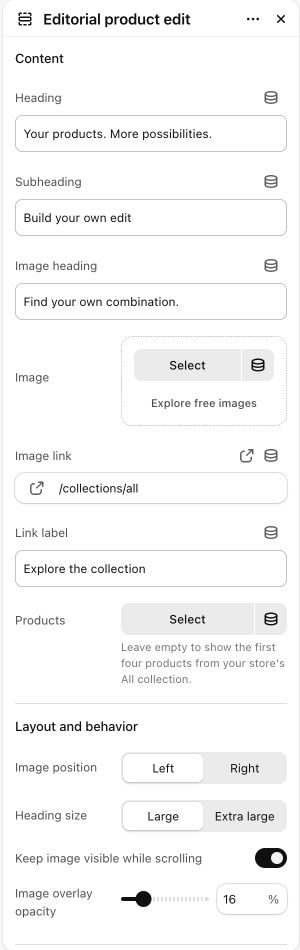
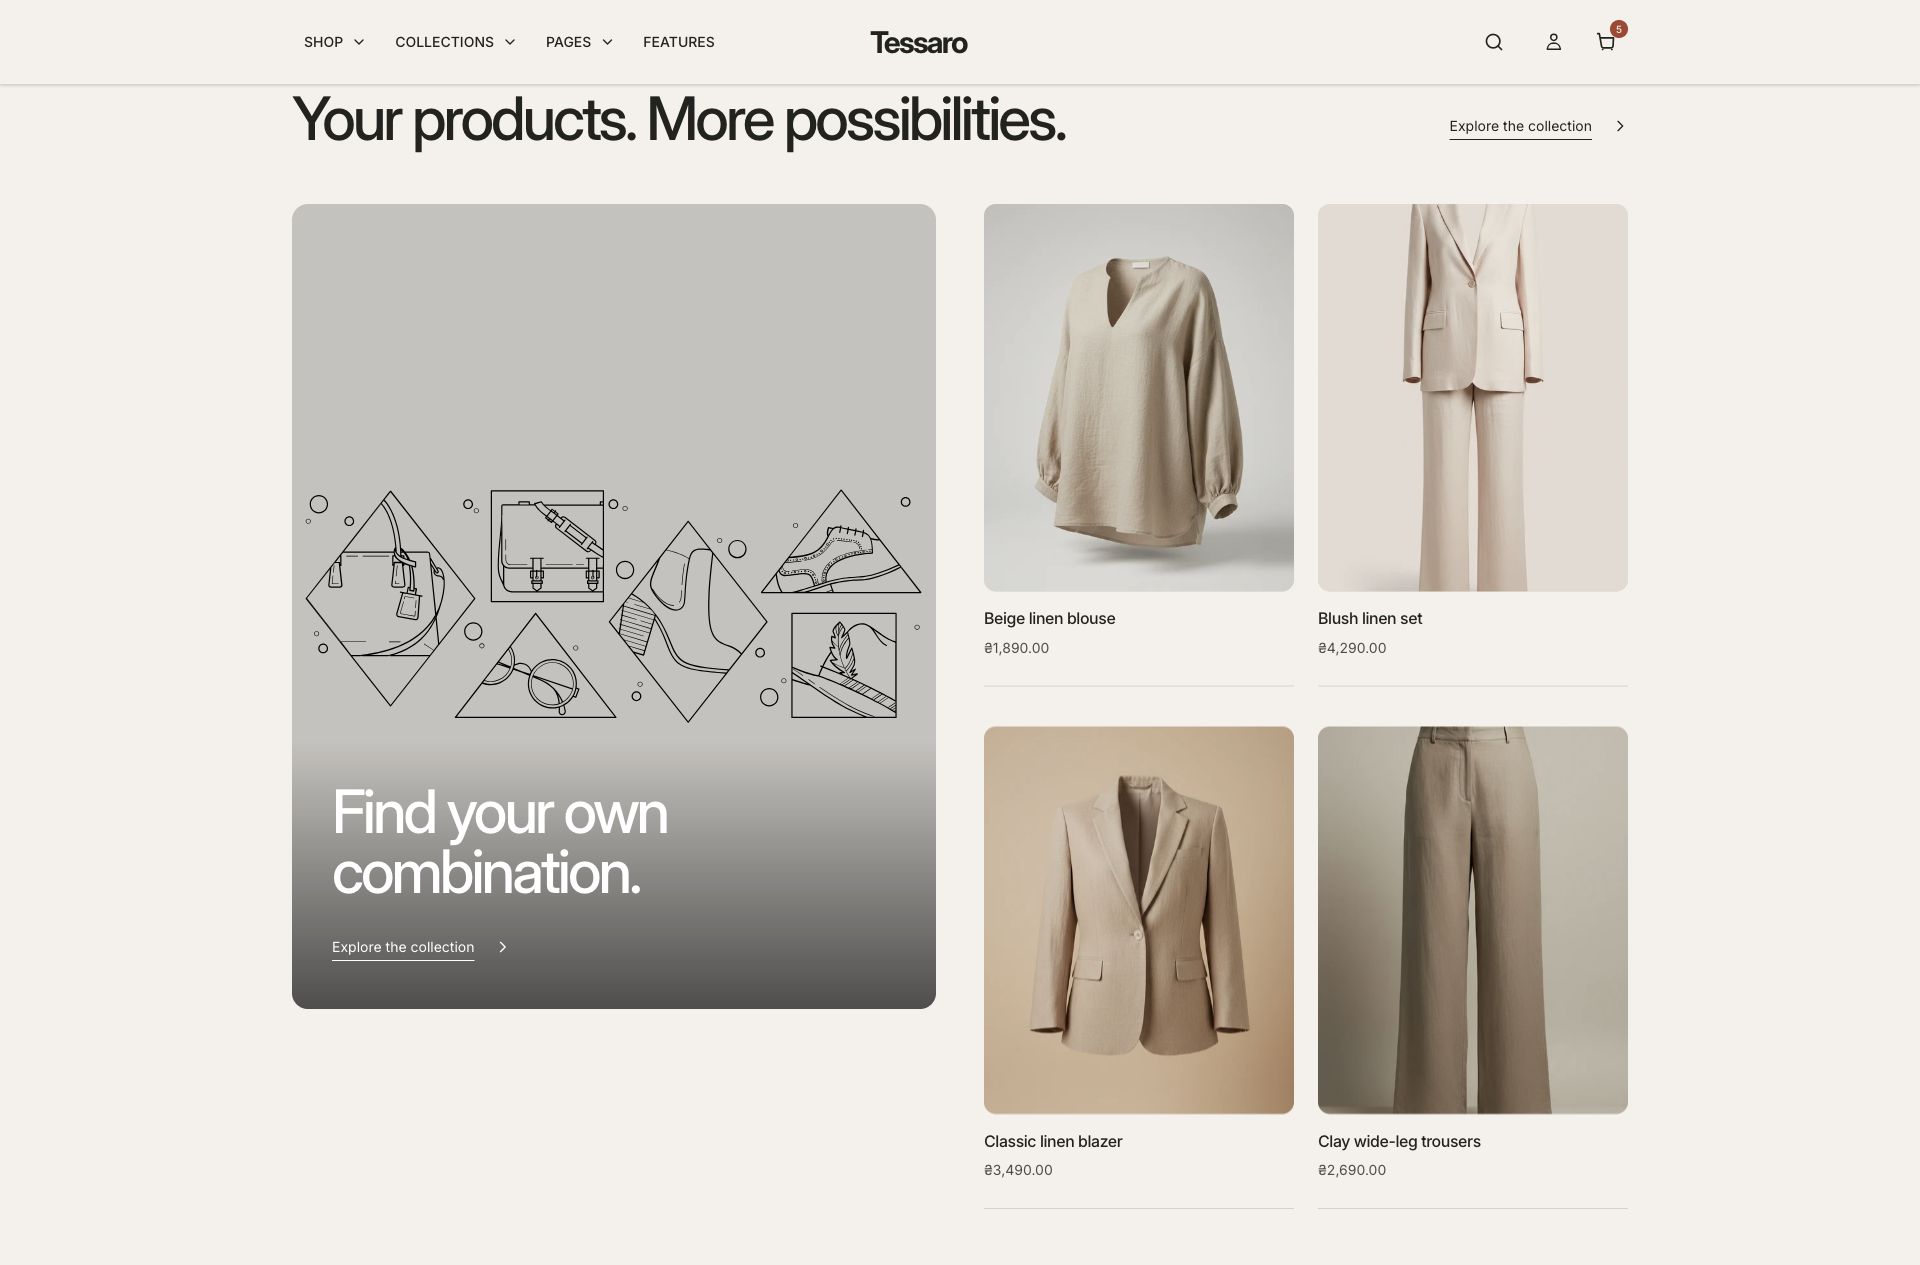
What to look for The editorial panel and product cards form one clear selection, with useful product destinations.
Explore all Editorial product edit settings →
06. Make an image shoppable#
Open in the editor Home page → Shop the look
Let customers explore the products shown in one image.
- Open Shop the look and choose the image that contains the products you want to feature.
- Select each Product point block, connect its actual product and position its hotspot over the matching item.
- Open every hotspot in the preview. On mobile, check that shoppers can select each point without covering the information.
See the Shop the look controls
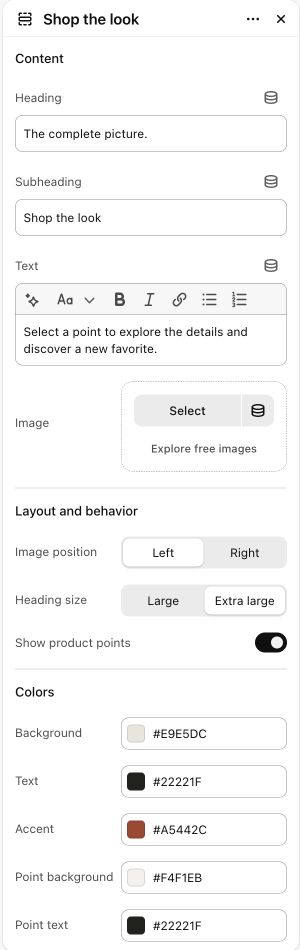
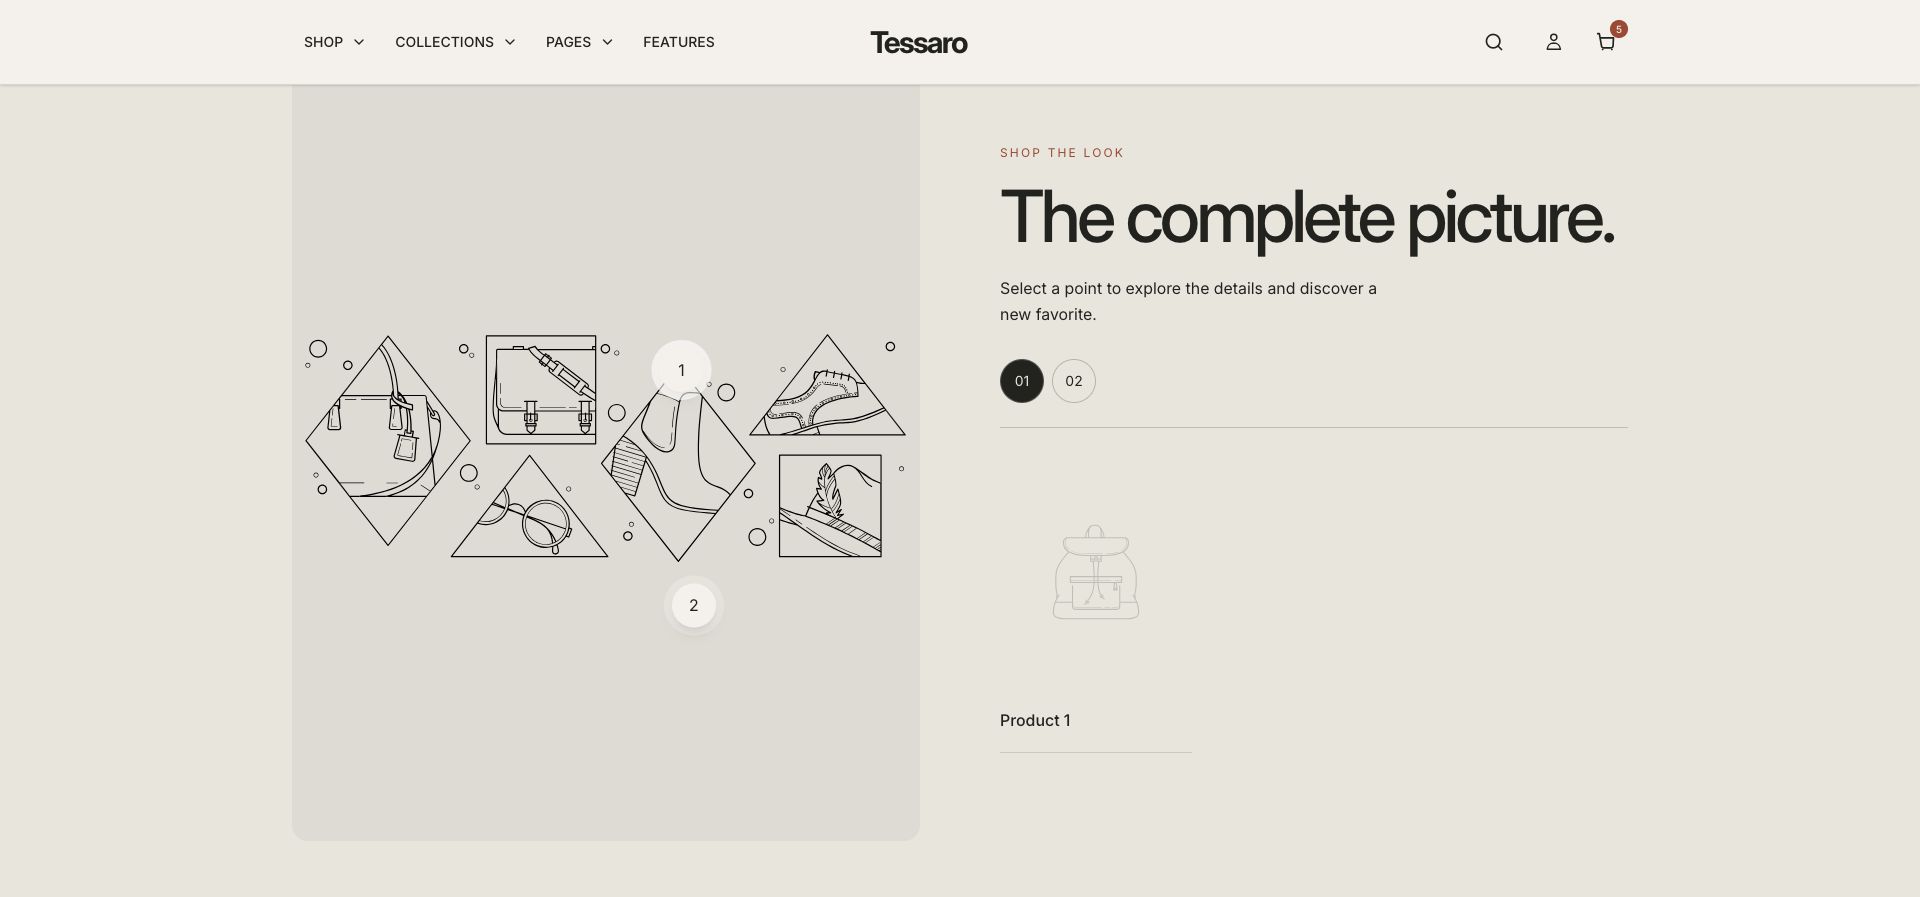
What to look for Each numbered point opens the matching product. Generic Product 1/2 placeholders disappear after you connect your products.
Explore all Shop the look settings →
07. Show a meaningful comparison#
Open in the editor Home page → Comparison slider
Help visitors compare two views of the same subject.
- Open Comparison slider, select its Image pair block and choose the before and after images.
- Use matching dimensions and framing so the divider reveals a useful difference. Write accurate labels for both sides.
- Move the handle across the image and try the control with a keyboard. Check the comparison again on a phone.
See the Comparison slider controls
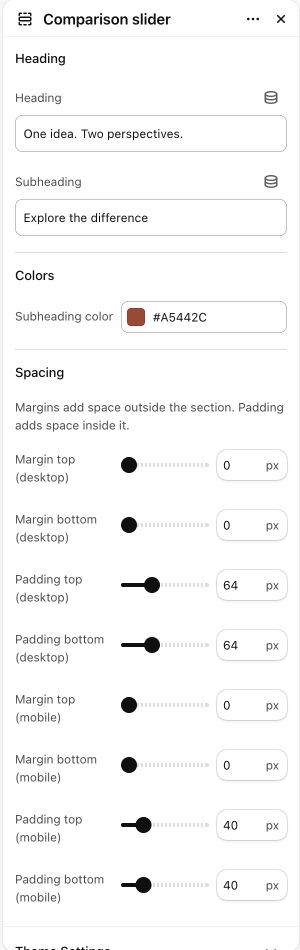
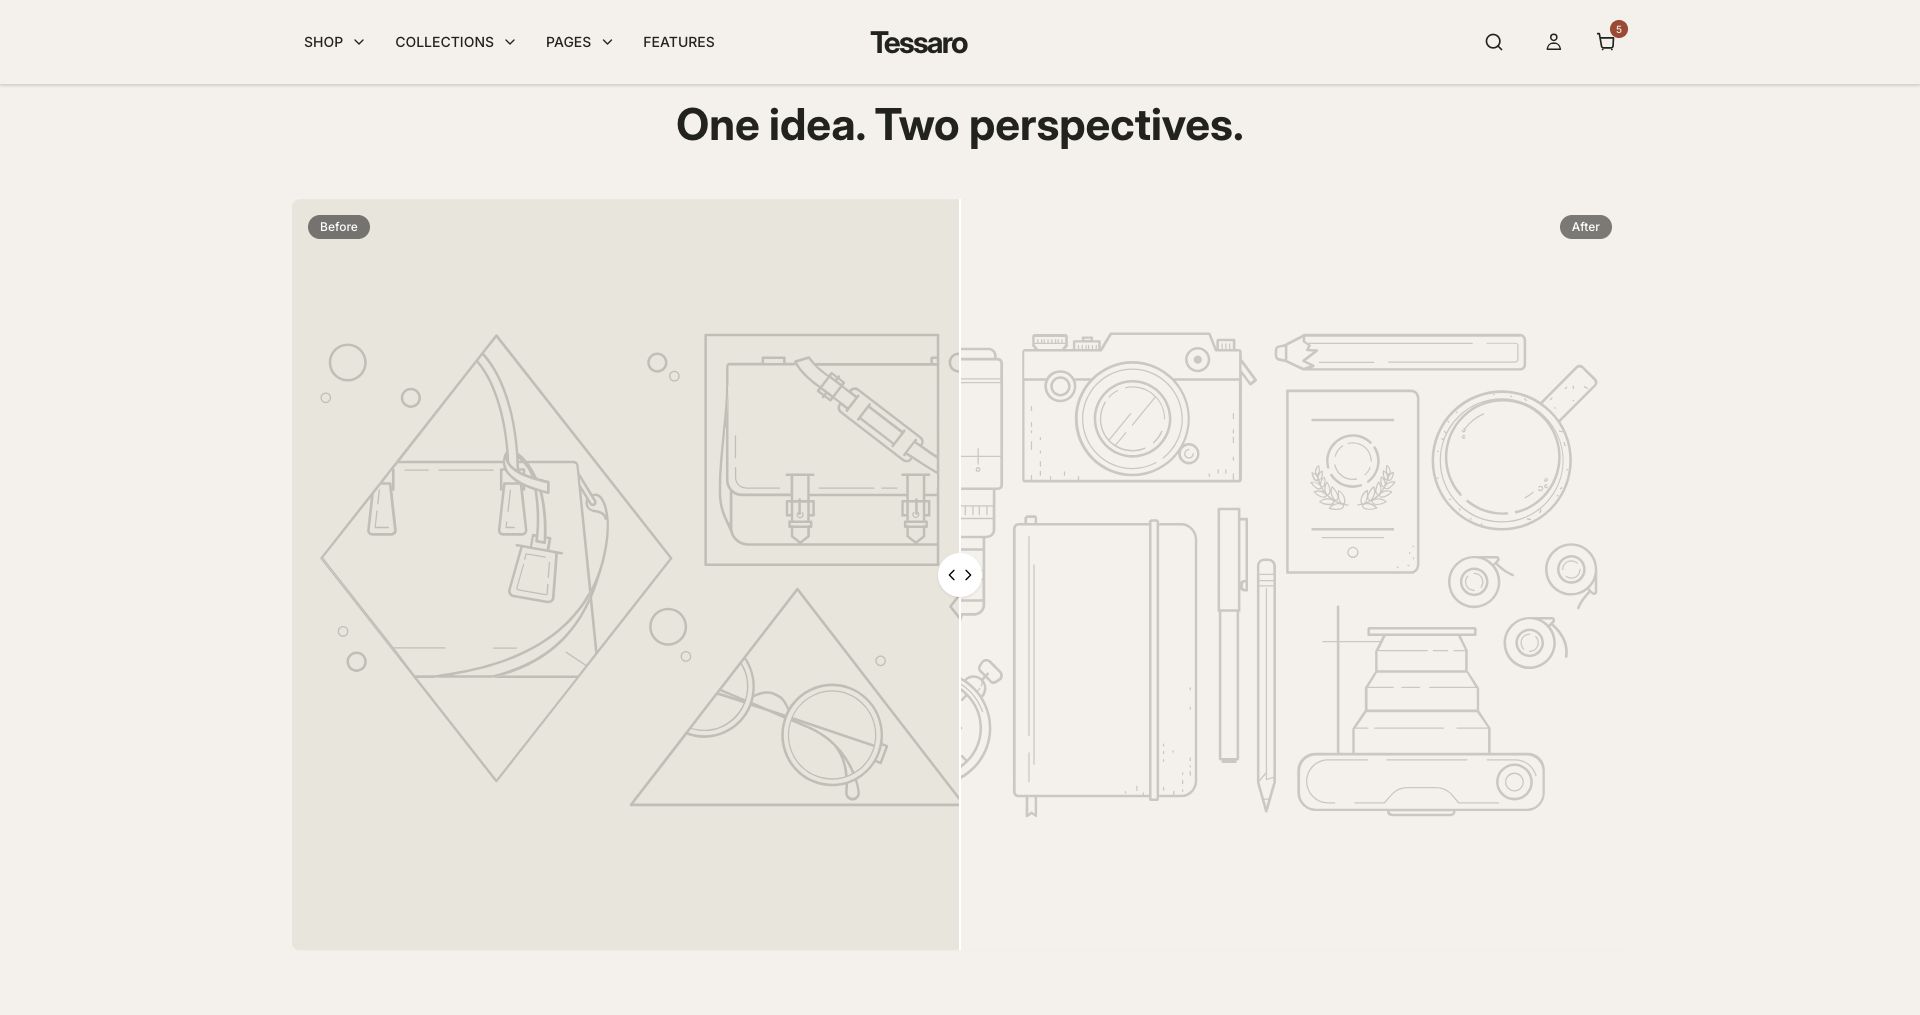
What to look for Both images line up, the labels explain the difference and important detail remains visible throughout the movement.
Explore all Comparison slider settings →
08. Create two supporting stories#
Open in the editor Home page → Split banner
Use two image-and-text panels for complementary collections or product benefits.
- Open Split banner and select the first Banner block. Choose its Image, Heading, Text and Button link.
- Configure the second block with a different but related message. Keep both button labels specific.
- Review image placement and the mobile order. Avoid putting essential information only inside the source images.
See the Split banner controls
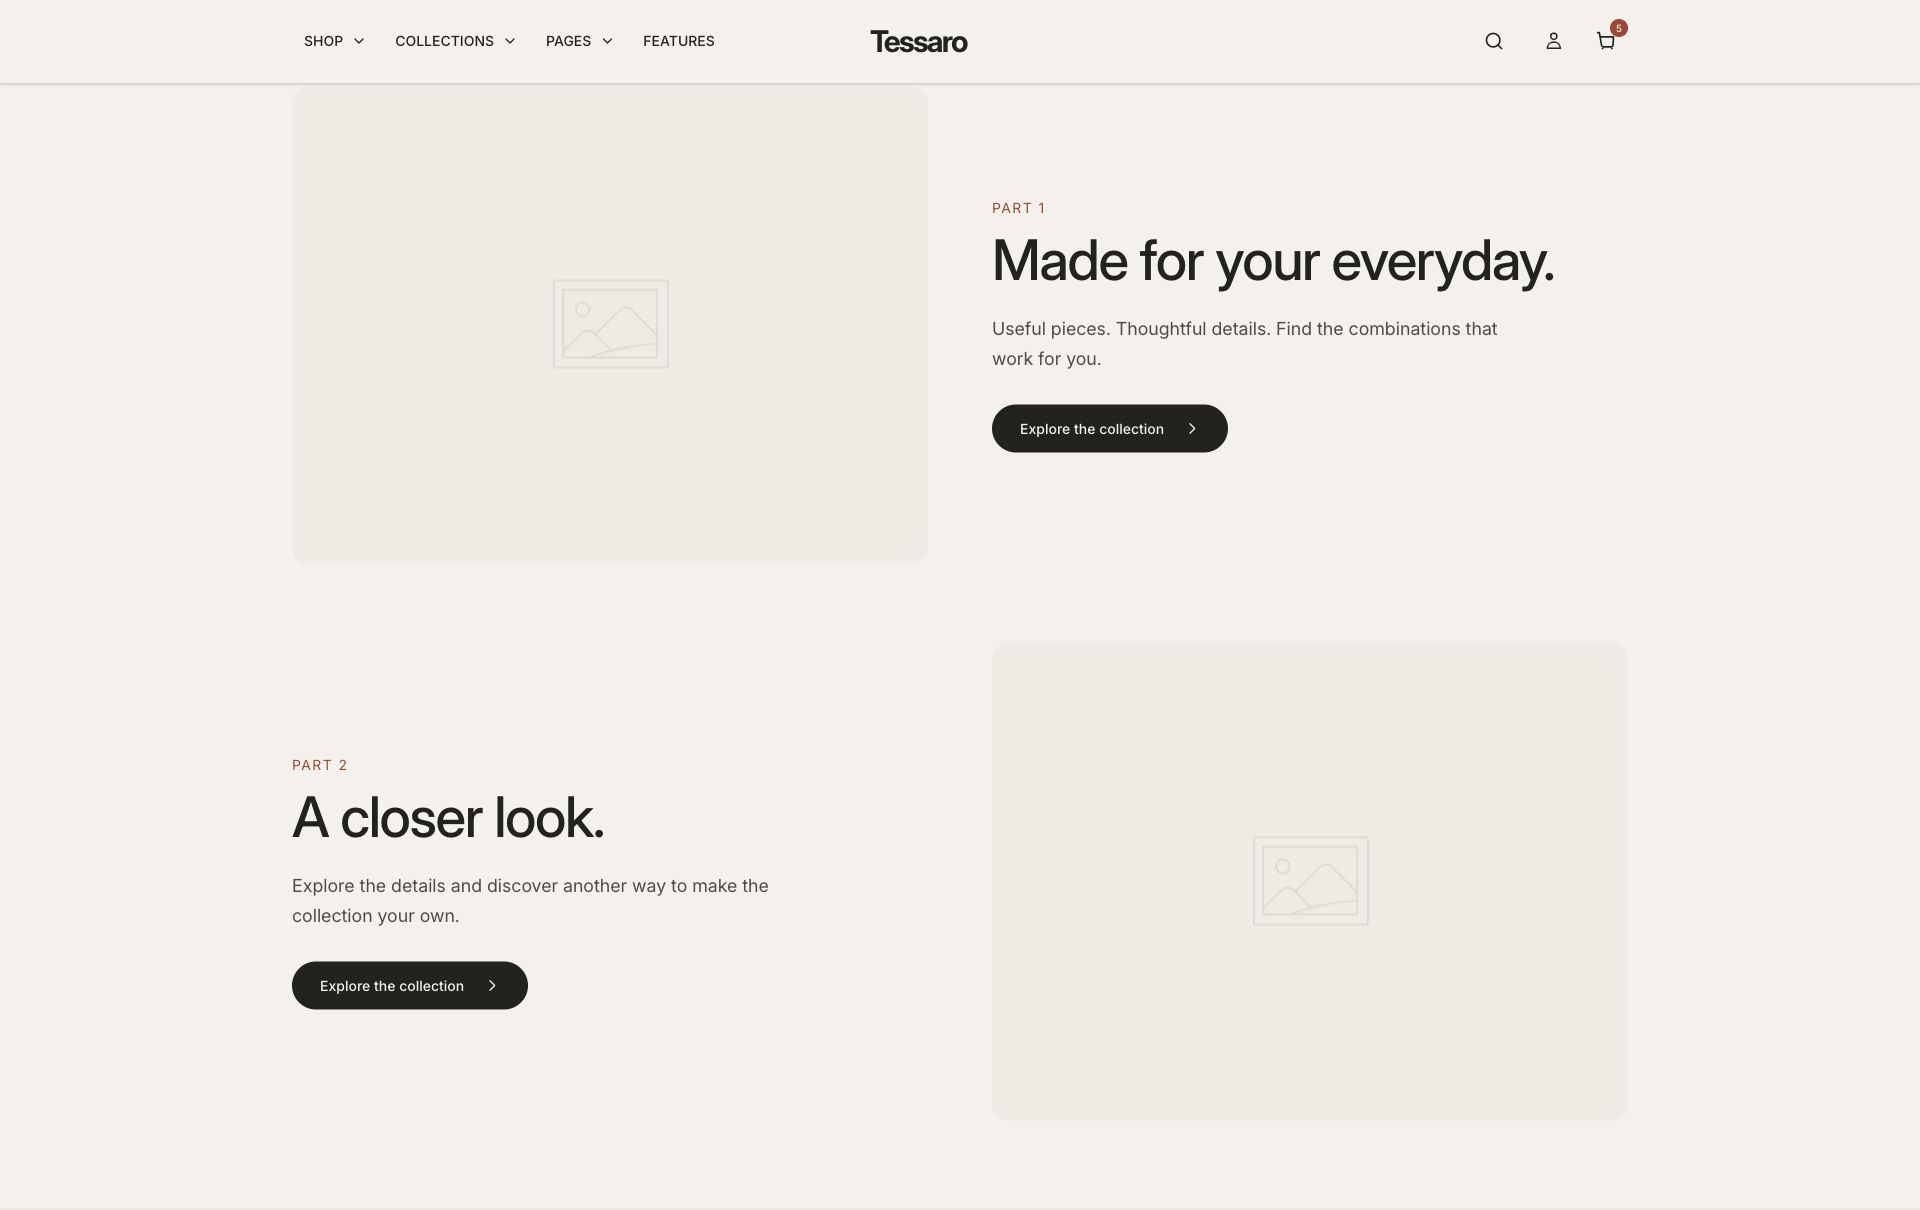
What to look for Each panel has a distinct purpose and leads somewhere useful; the stacked mobile order still makes sense.
Explore all Split banner settings →
09. Add a second campaign only when useful#
Open in the editor Home page → Editorial spotlight
Reserve the later banner for a different collection, seasonal story or focused offer.
- Select the later Editorial spotlight in the starter. It is independent of the opening and story instances.
- Choose its media and destination, then replace the sample message with a real campaign.
- Hide or remove this instance if it repeats content already on the page. An offer written in a banner does not create a Shopify discount.
See the Editorial spotlight controls
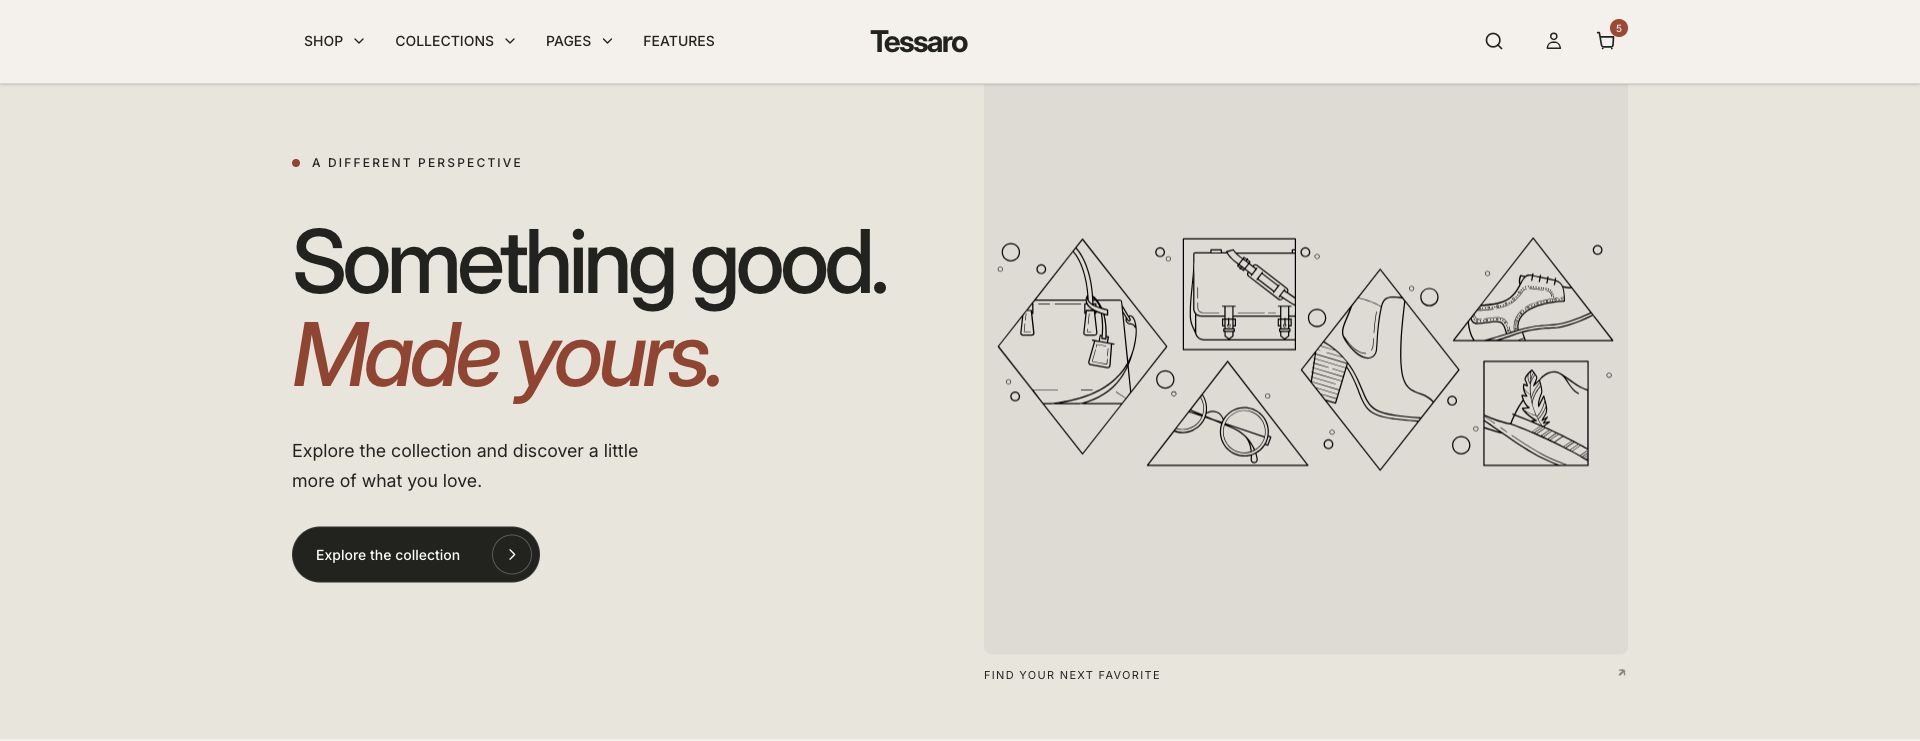
What to look for The campaign has its own reason to exist, and any offer matches your actual store configuration.
Explore all Editorial spotlight settings →
10. Answer the questions shoppers ask#
Open in the editor Home page → FAQ accordion
Keep a few useful answers close to the buying journey.
- Open FAQ accordion and select each question block.
- Replace the sample questions and answers with your real product, shipping or service information.
- Keep answers concise and link to full policies where appropriate. Open each answer in the preview.
See the FAQ accordion controls
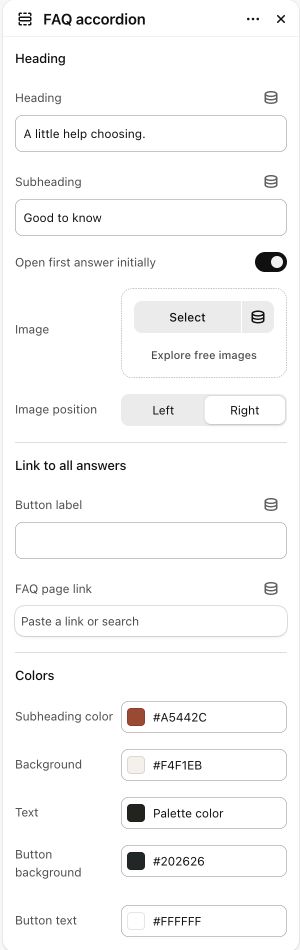
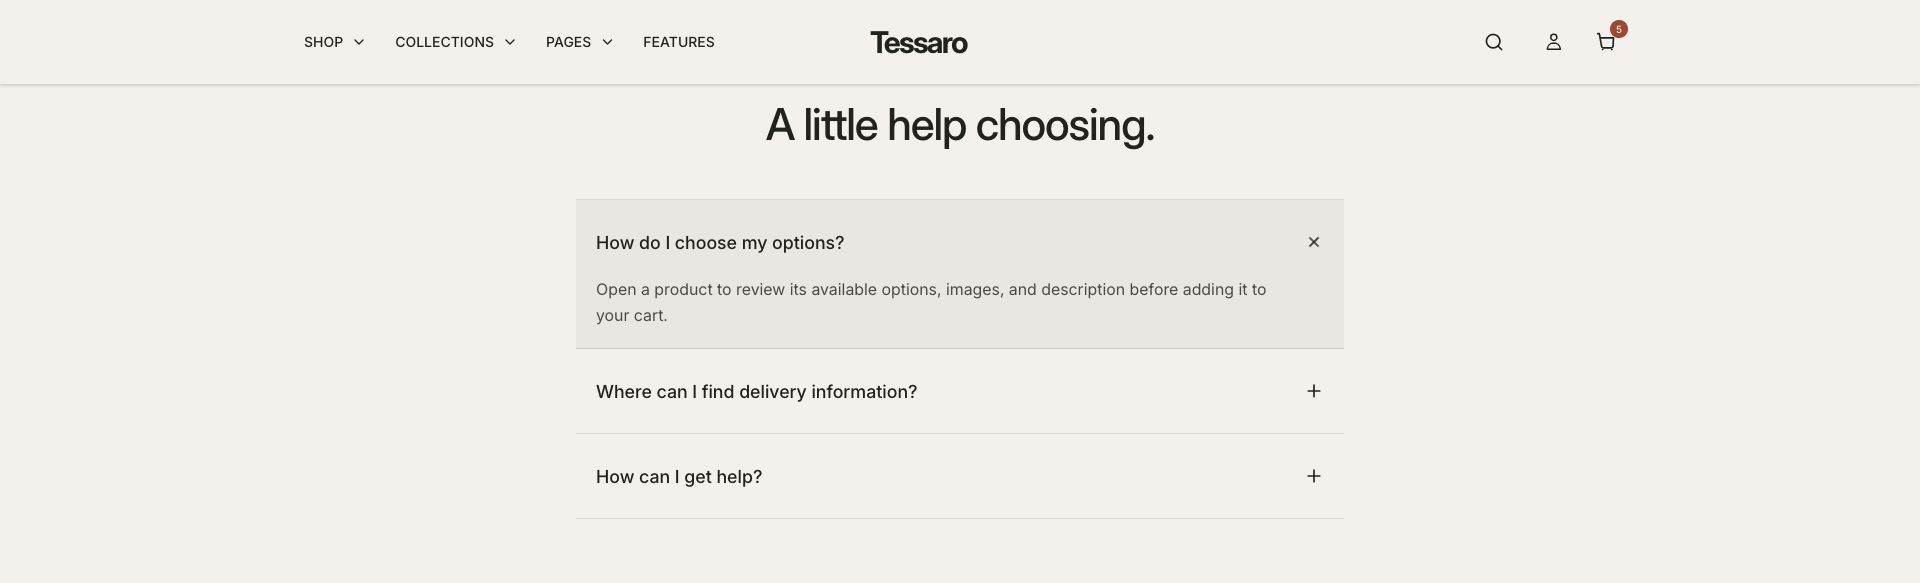
What to look for The answers match your actual policies and are readable on mobile. No sample delivery or return promise remains.
Explore all FAQ accordion settings →
11. Connect your stories#
Open in the editor Home page → Blog preview
Bring published articles into the home page.
- Create and publish your articles in Shopify before connecting the section.
- Open Blog preview and select the blog you want to show. Choose how many articles to display.
- Preview article images, headings and links. If you do not have articles ready, hide the section until you do.
See the Blog preview controls
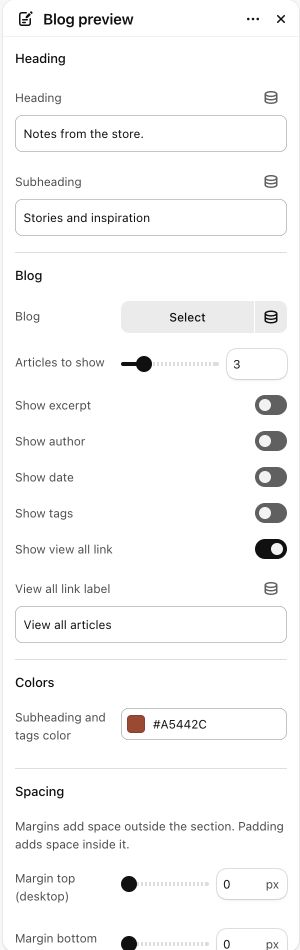
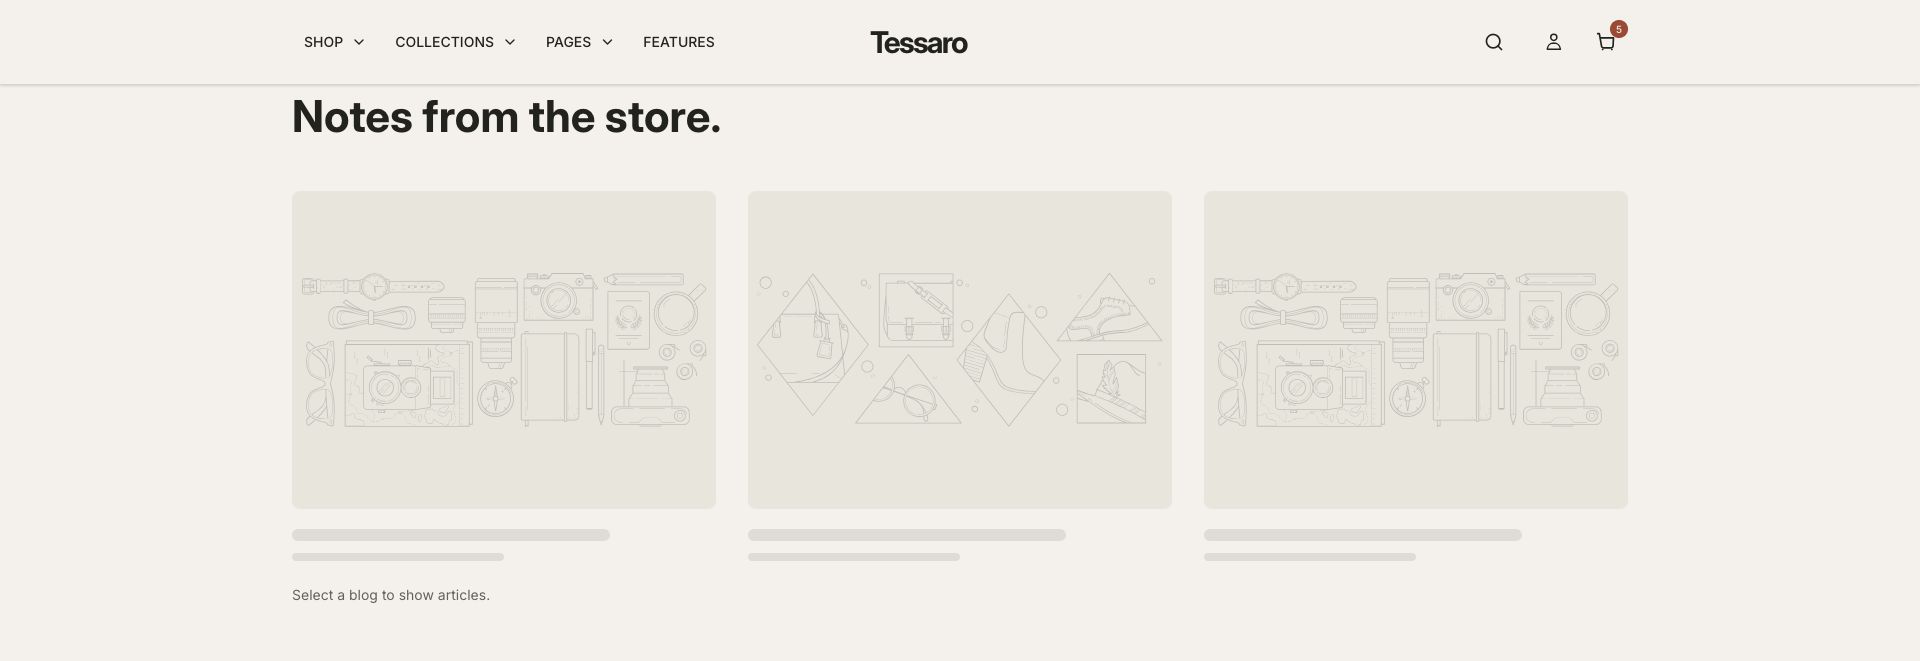
What to look for Real article cards replace the empty selection state shown below.
Explore all Blog preview settings →
12. Finish with a short message#
Open in the editor Home page → Rich text
Add a brief brand statement or a useful closing note.
- Open Rich text and replace the sample heading and paragraph.
- Keep the message short enough to read at a glance; move detailed policy or product information to the relevant page.
- Check the text alignment, content width and spacing next to the neighboring sections.
See the Rich text controls
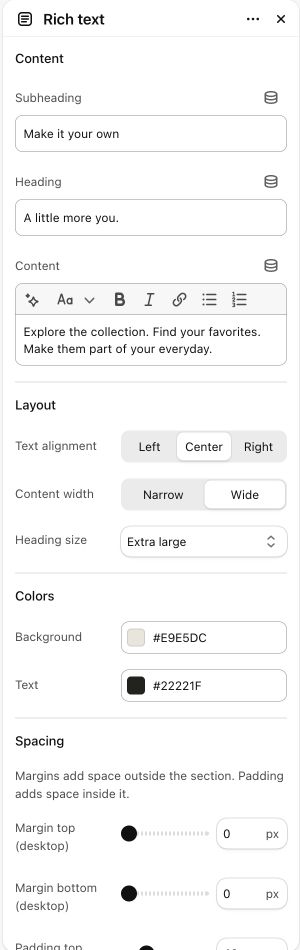

What to look for The text is easy to scan and adds something the page has not already said.
Explore all Rich text settings →
13. Invite people to stay in touch#
Open in the editor Home page → Newsletter
Explain what subscribers will receive before asking for their email address.
- Open Newsletter and write a specific heading and description.
- Set up consent and email marketing in Shopify or your email provider. If you promise an incentive, configure its actual delivery workflow.
- Preview the form and confirm the signup result through your approved store testing process.
See the Newsletter controls
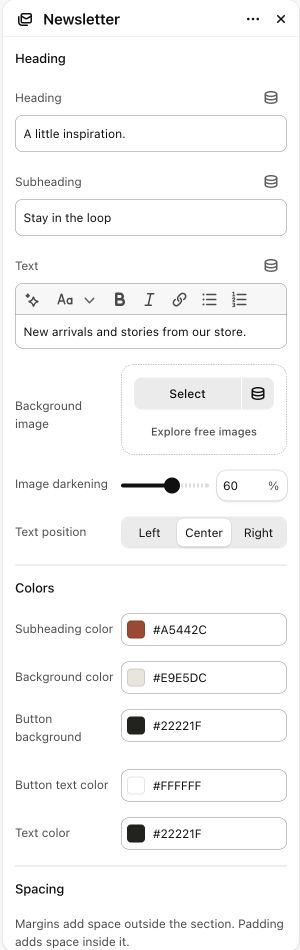

What to look for The form explains the benefit honestly. A section heading alone does not send a welcome email or create a discount.